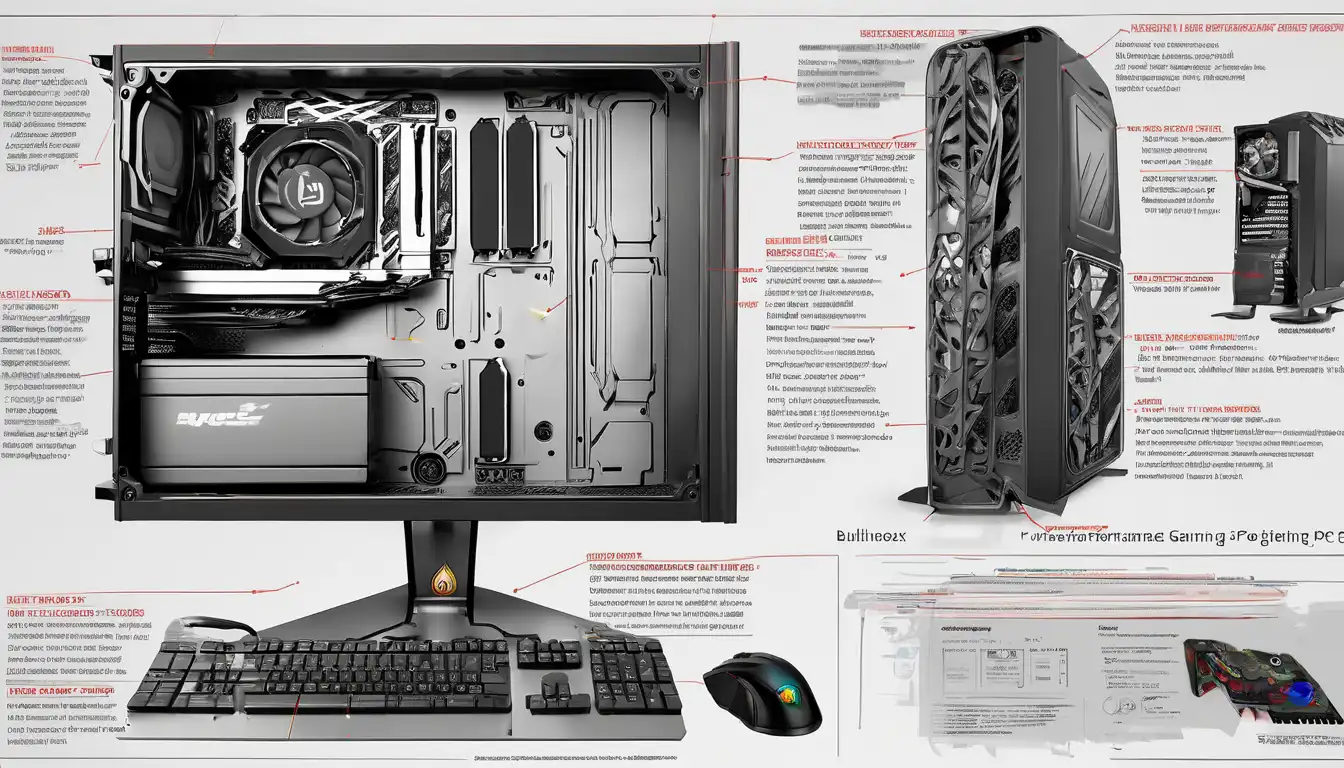
Introduction to High-Performance Gaming PC Construction
Building a high-performance gaming PC represents one of the most rewarding experiences for any gaming enthusiast. Unlike pre-built systems, custom-built computers offer unparalleled flexibility, superior performance optimization, and significant cost savings. This comprehensive guide will walk you through every step of creating your dream gaming machine, from component selection to final assembly and optimization.
The process might seem daunting initially, but with proper guidance, even beginners can successfully build a powerful gaming rig. The key lies in understanding component compatibility, performance requirements, and proper assembly techniques. By following this guide, you'll gain the knowledge needed to make informed decisions and avoid common pitfalls that plague first-time builders.
Essential Components for Your Gaming PC
Every high-performance gaming PC requires careful selection of core components. Each part plays a crucial role in determining your system's overall capabilities and gaming performance.
Central Processing Unit (CPU)
The CPU serves as the brain of your gaming PC, handling game logic, physics calculations, and AI processing. For modern gaming, we recommend processors from Intel's Core i7/i9 series or AMD's Ryzen 7/9 series. Consider factors like core count, clock speed, and thermal design power when making your selection. Higher core counts benefit multitasking and streaming, while faster clock speeds improve gaming performance.
Graphics Processing Unit (GPU)
Your graphics card is arguably the most critical component for gaming performance. NVIDIA's RTX 30/40 series and AMD's RX 6000/7000 series offer excellent options for high-end gaming. Look for cards with sufficient VRAM (8GB minimum for modern titles), adequate cooling solutions, and power requirements that match your power supply unit's capabilities.
Memory (RAM)
Modern gaming requires substantial memory resources. We recommend 16GB as a minimum starting point, with 32GB being the sweet spot for high-performance systems. Opt for DDR4 or DDR5 memory with speeds of 3200MHz or higher, and ensure you purchase memory in dual-channel kits for optimal performance. Check our gaming RAM selection guide for detailed recommendations.
Storage Solutions
Storage configuration significantly impacts loading times and system responsiveness. A combination of NVMe SSD for your operating system and frequently played games, coupled with a larger SATA SSD or HDD for mass storage, provides the ideal balance. Consider PCIe 4.0 NVMe drives for maximum performance if your motherboard supports them.
Motherboard Selection
Your motherboard determines component compatibility and future upgrade potential. Key considerations include chipset features, VRM quality, connectivity options, and form factor compatibility with your chosen case. Ensure the motherboard supports your CPU out of the box and provides sufficient expansion slots for your needs.
Power Supply Unit (PSU)
Never compromise on power supply quality. Select a PSU from reputable brands with 80 Plus Bronze certification or higher. Calculate your system's power requirements and add 20-30% headroom for future upgrades and optimal efficiency. Modular PSUs simplify cable management and improve airflow within your case.
Step-by-Step Assembly Process
Proper assembly ensures optimal performance and longevity for your gaming PC. Follow these steps carefully to avoid common mistakes.
Preparation and Workspace Setup
Begin by preparing a clean, static-free workspace with adequate lighting. Gather all necessary tools including screwdrivers, cable ties, and thermal paste. Wear an anti-static wrist strap throughout the assembly process to prevent electrostatic discharge damage to sensitive components.
Motherboard Preparation
Install the CPU, RAM, and M.2 storage devices onto the motherboard before mounting it in the case. Apply thermal paste carefully if not pre-applied to your CPU cooler. Refer to your motherboard manual for proper installation procedures and slot configurations.
Case Preparation and Component Installation
Prepare your case by installing the power supply and routing necessary cables beforehand. Install I/O shield, motherboard standoffs, and then carefully mount the prepared motherboard. Connect front panel headers, USB connectors, and audio jacks according to your motherboard's documentation.
Cable Management and Final Connections
Proper cable management improves airflow and maintains clean aesthetics. Route cables behind the motherboard tray when possible and use cable ties to secure loose wires. Connect all power cables securely, ensuring graphics card power connectors are fully seated. Double-check all connections before proceeding to power-on testing.
System Optimization and Performance Tuning
After successful assembly, optimize your system for maximum gaming performance through these essential steps.
BIOS Configuration
Access your motherboard's BIOS/UEFI interface to enable XMP/DOCP profiles for memory optimization. Update to the latest BIOS version for improved stability and compatibility. Configure fan curves for optimal cooling performance while maintaining acceptable noise levels.
Operating System and Driver Installation
Install your preferred operating system, ensuring you download the latest drivers from component manufacturers' websites. Prioritize chipset, graphics, and audio drivers for optimal performance. Consider using driver update utilities from reputable sources to simplify this process.
Performance Monitoring and Benchmarking
Install monitoring software like HWMonitor or MSI Afterburner to track system temperatures and performance metrics. Run benchmarking tools such as 3DMark or Unigine Heaven to validate system stability and performance. Compare results with similar configurations to identify potential optimization opportunities.
Advanced Optimization Techniques
For enthusiasts seeking maximum performance, consider these advanced optimization strategies.
Overclocking Considerations
Overclocking can provide significant performance gains but requires careful implementation. Start with GPU overclocking using manufacturer utilities, then progress to CPU overclocking if your cooling solution permits. Always stress test thoroughly and monitor temperatures to ensure system stability. Our safe overclocking guide provides detailed instructions for beginners.
Cooling System Optimization
Proper cooling sustains performance during extended gaming sessions. Consider upgrading to aftermarket CPU coolers or custom water cooling solutions for high-overclock systems. Optimize case fan placement to create positive air pressure, reducing dust accumulation while maintaining efficient heat dissipation.
Software Optimization
Disable unnecessary startup programs and background services to free up system resources. Configure game settings to balance visual quality and performance based on your hardware capabilities. Regularly update games and system software to benefit from performance improvements and bug fixes.
Maintenance and Future Upgrades
Maintaining your gaming PC ensures long-term performance and reliability. Regular cleaning prevents dust buildup that can impact cooling efficiency. Monitor component temperatures and performance metrics to identify potential issues before they affect gameplay.
Plan future upgrades strategically by considering component compatibility and performance bottlenecks. Graphics cards typically offer the most significant gaming performance improvements, while storage and memory upgrades can enhance overall system responsiveness. Keep your system updated with the latest drivers and security patches for optimal performance and protection.
Conclusion
Building a high-performance gaming PC represents an investment in your gaming experience that pays dividends in performance, customization, and personal satisfaction. By carefully selecting components, following proper assembly procedures, and implementing optimization techniques, you can create a system that delivers exceptional gaming performance for years to come.
Remember that the PC building community offers extensive resources and support. Don't hesitate to consult forums, video tutorials, and manufacturer documentation when facing challenges. The knowledge gained through this process will serve you well in future upgrades and troubleshooting scenarios. Happy building!